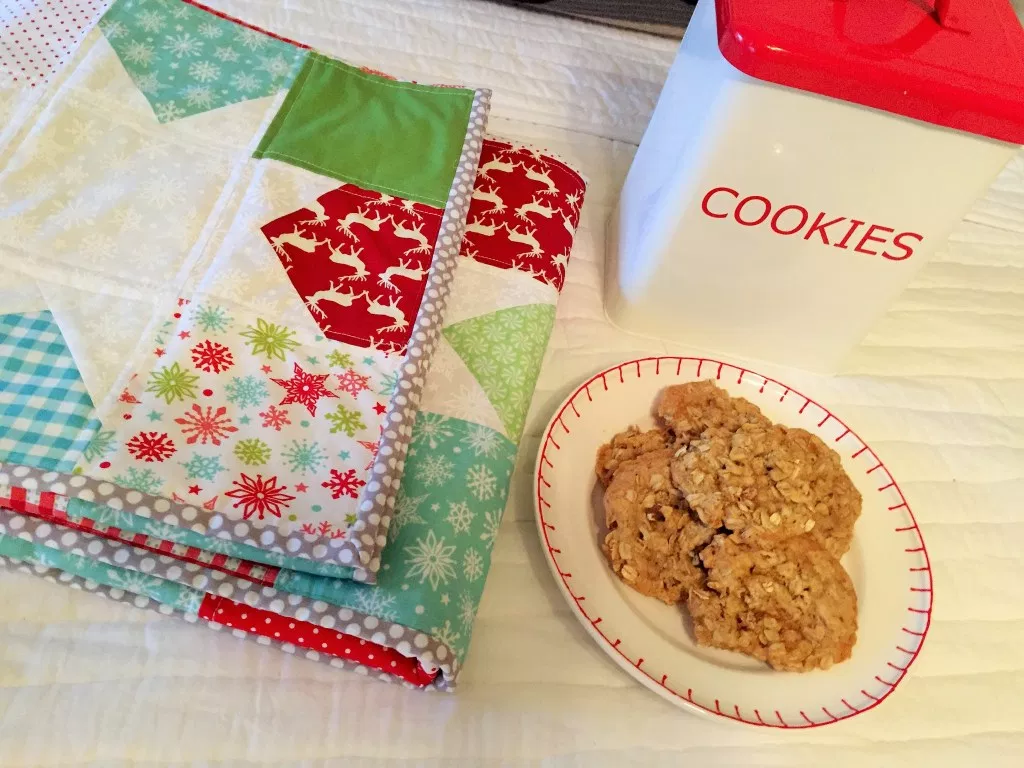
Hello there! It’s Day 4 of the Stitch ‘n Kitchen Holiday Blog Tour hosted by Riley Blake Designs & I am going to share my Starlight Starbright Quilt tutorial with PDF download & my mom’s famous Oatmeal Cookie Recipe.
Handed down from generation to generation.
Wait a minute ….. {it’s only been passed down to me} ….. but now I’m going to share it with all of you.
Christmas is just around the corner but there is still plenty of time to make some homemade gifts for your friends and family, so let’s get started …..
Ingredients:
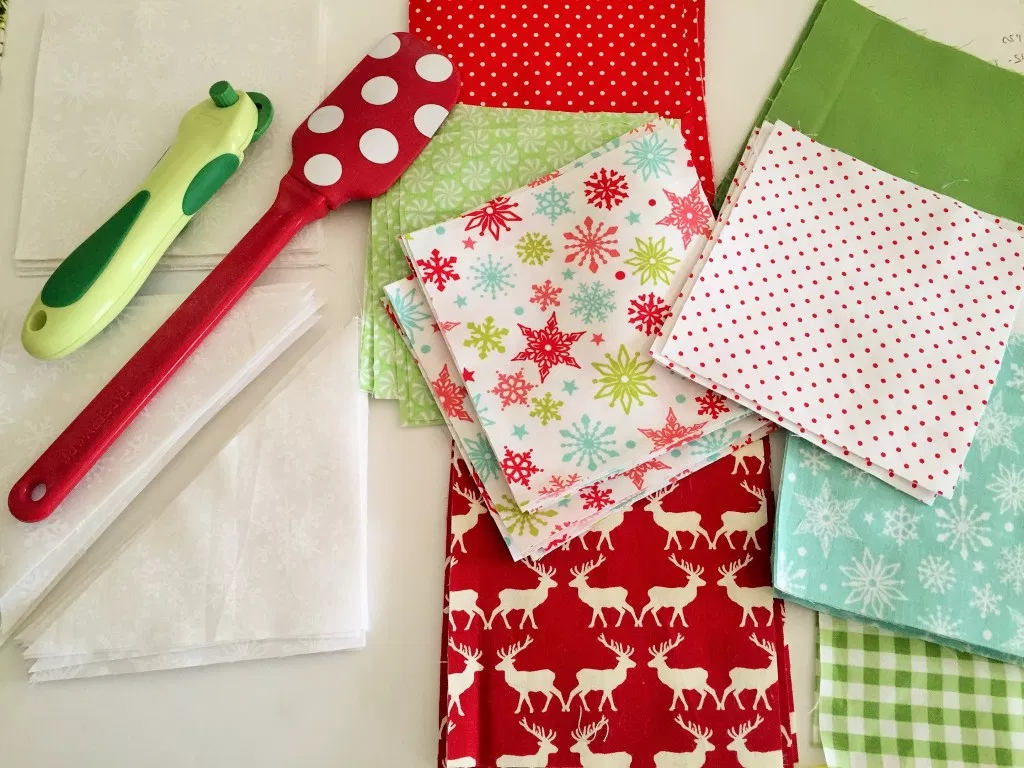
9 - 5″ squares from white fabric
36 - 5″ squares from white fabric {cut diagonal to make 72 triangles}
72 - 5″ squares from your favorite Christmas prints
quilt batting
1¼ yard of Christmas fabric for backing
5 - 2½” width of fabric strips for binding
Serving size:
41″ square.
———————————————————————————————————-
Directions:
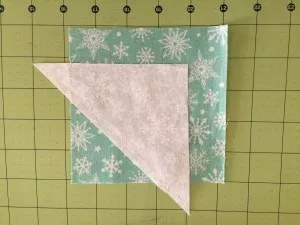

Using your 36 of your 5” squares from Christmas prints & your 72 triangles we are going to create the star points.
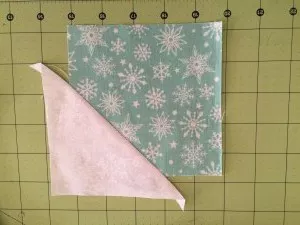
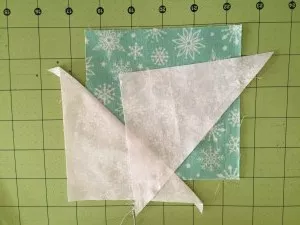
Lay your triangle right sides together with your 5″ square and stitch 1/4″ from the seam on the long side of the triangle. Trim, press open & repeat on the other side.
Helpful tips:
♥ To create a nice overlap, be sure to lay the top part of your triangle a little further than the half way mark on your 5″ square. See diagrams.
♥ Position the bottom part of your triangle piece a little bit different each time to create the various size star points.
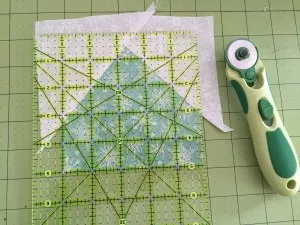
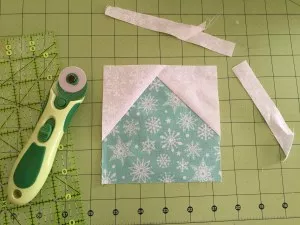
Square up your star point unit to 5″. Make 36.
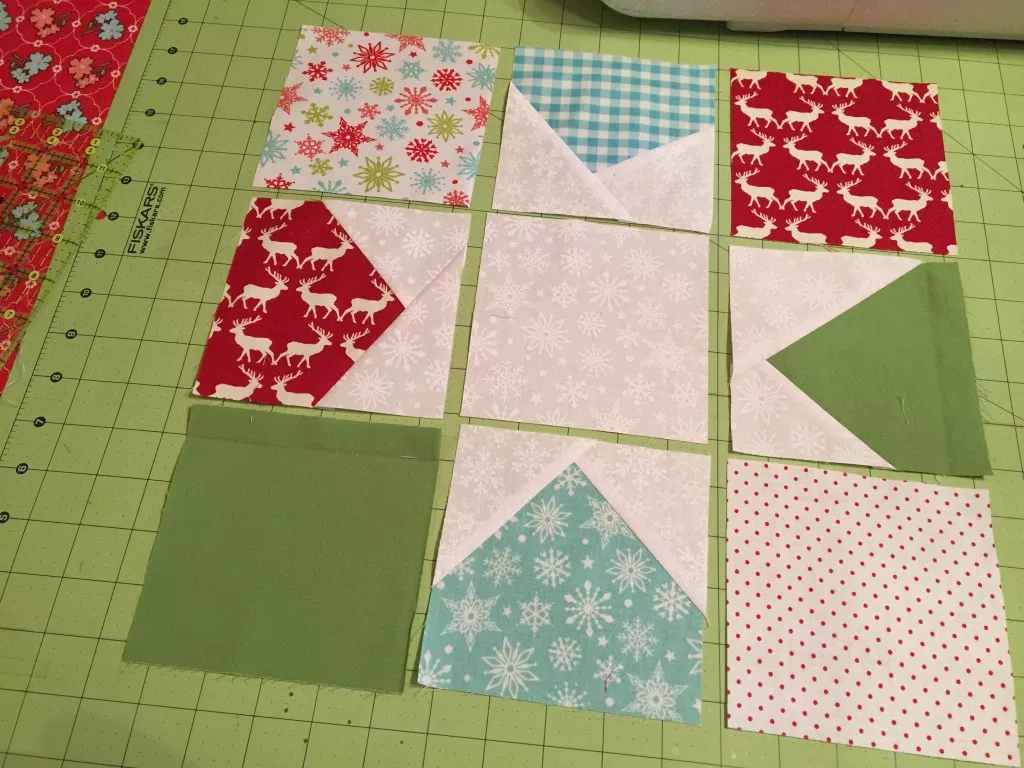
Using one 5″ white square, four star point units, and four 5″ Christmas print squares you will make a star block.
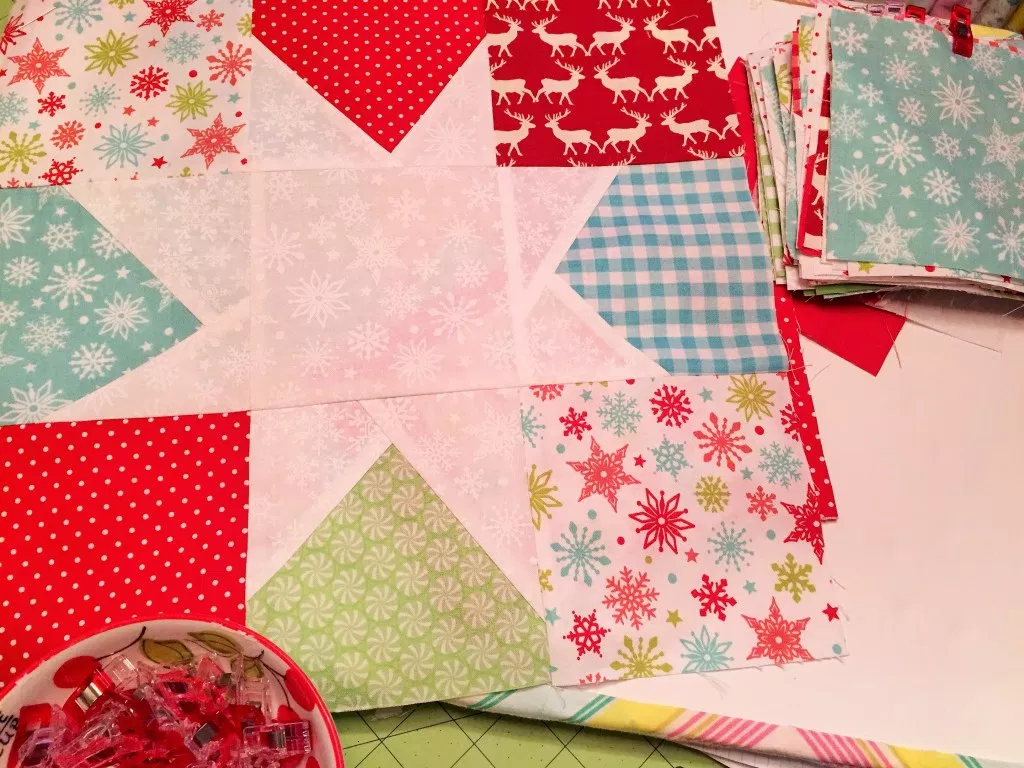
Stitch them together & repeat until you have 9 star blocks.
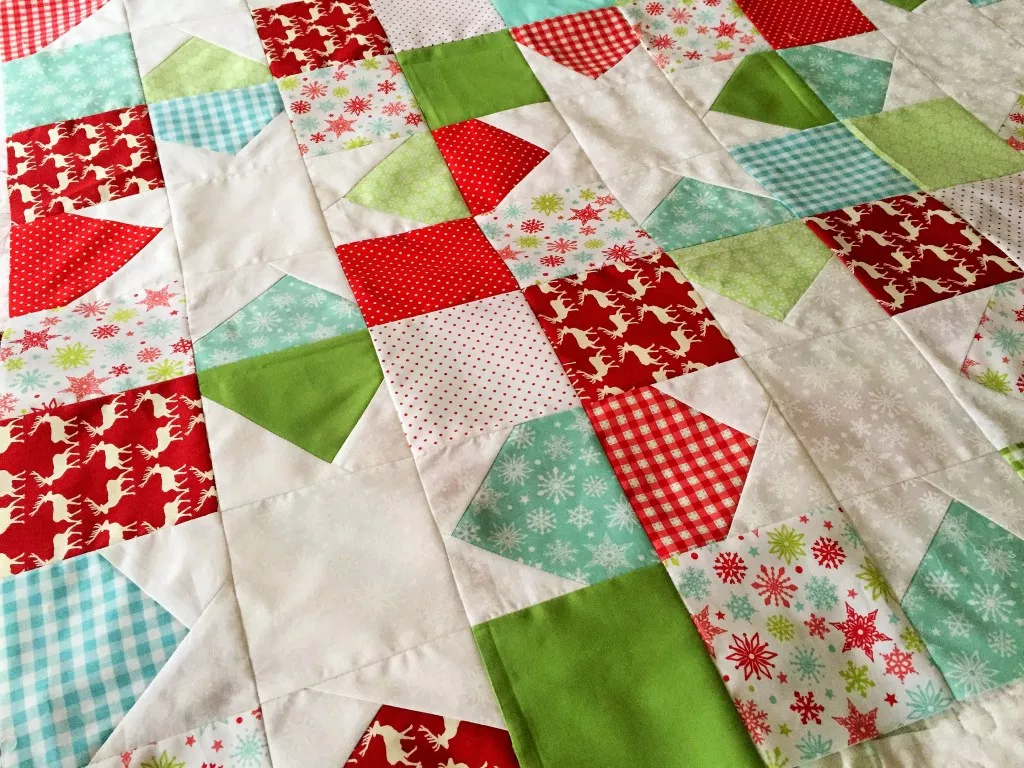
Stitch together your star blocks in 3 rows of 3.
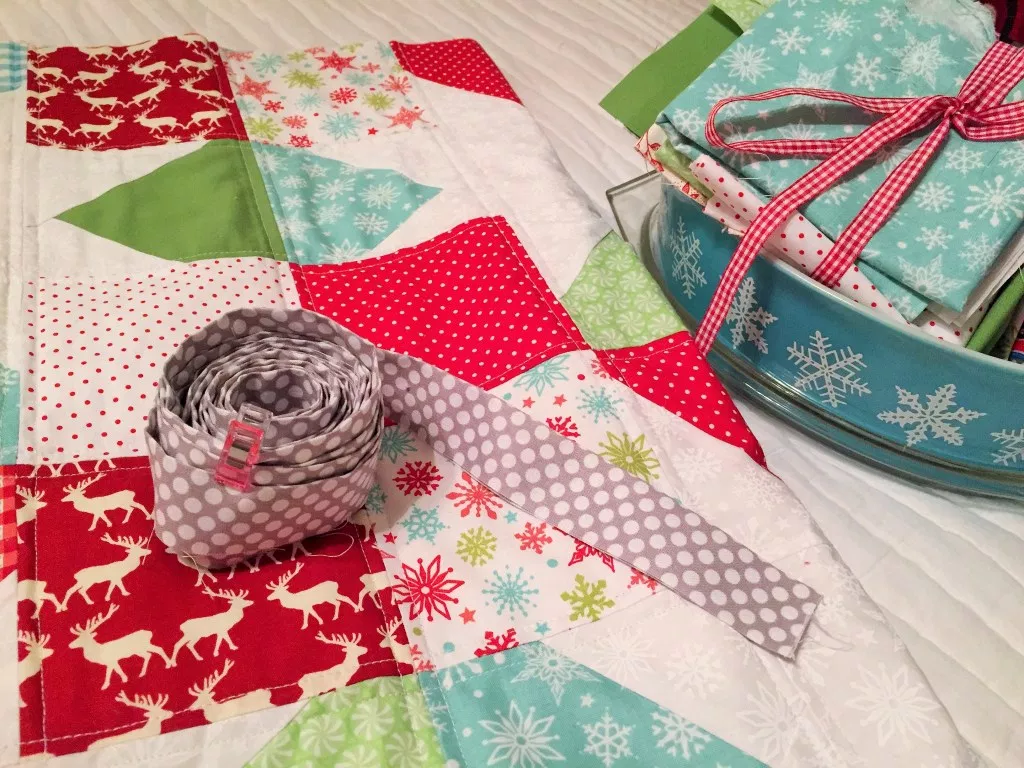
Finishing:
Quilt and bind.
———————————————————————————————————-
I’m surely not the first person to make a wonky star quilt ….. but i wanted to share my Starlight Starbright Recipe with you today & hope you love this fun Christmas version with a blend of pretty Riley Blake fabrics accenting nine white wonky stars.
Making time:
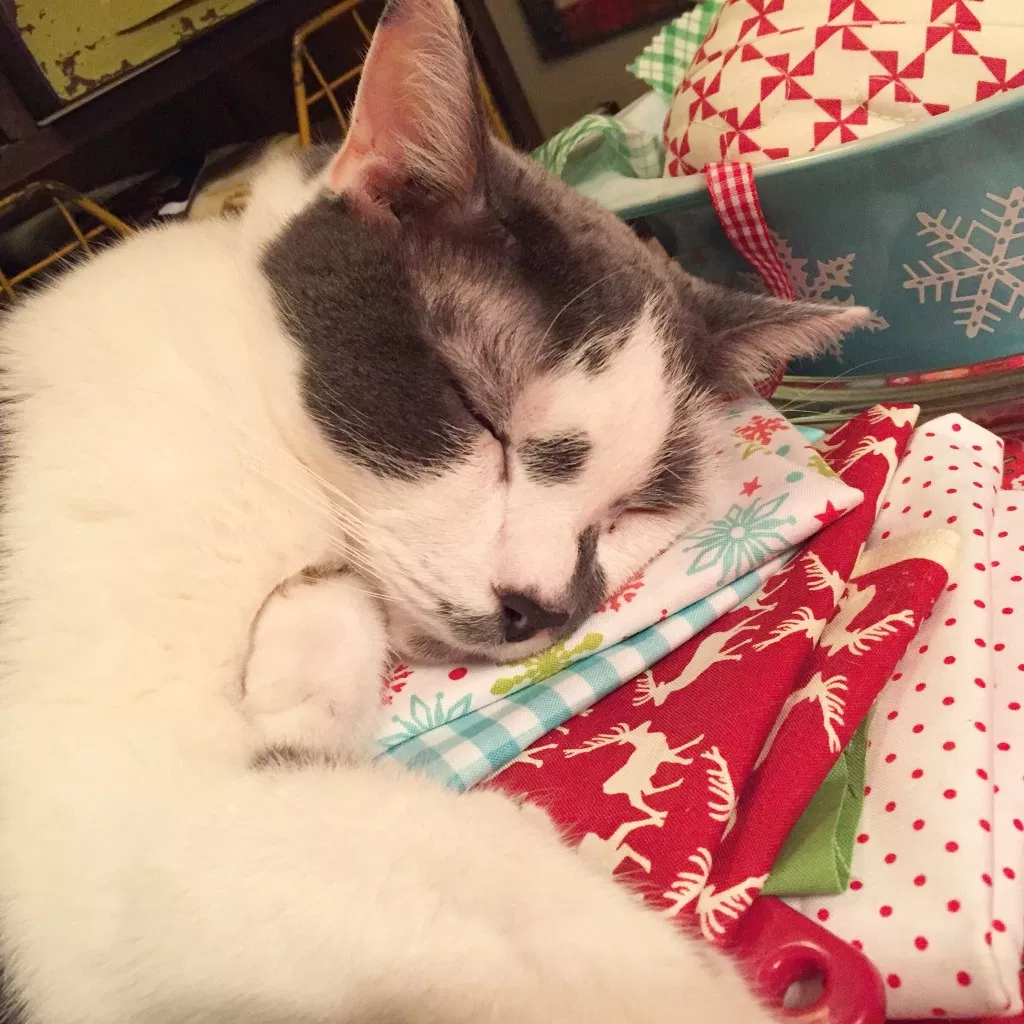
one afternoon - add extra time for household responsibilities, jobs, children and cats sleeping on your fabric.
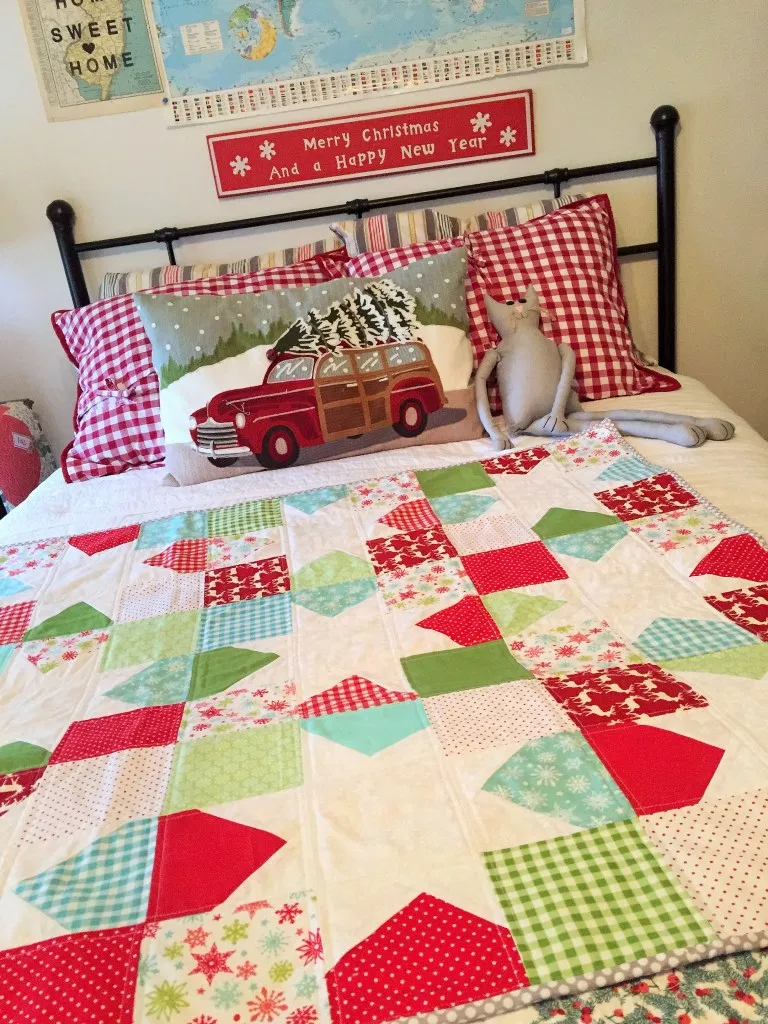
Star Light Star Bright quilt handmade with love by you. Now it’s time to enjoy some cookies!
Follow along with our blog tour for holiday project tutorials and favorite recipes!
 12/1 - Riley Blake Designs 12/2 - Simple Simon
12/3 - Mode de Lis 12/4 - Emily Ann’s Kloset
12/5 - A Bright Corner 12/7 - Quiltscapes
12/8 - Life After Laundry 12/9 - Crafting Chicks
12/10 - Melly Sews 12/11 - Choo Choo Skadoo
12/12 - Jedi Craft Girl 12/14 - Polka Dot Chair
12/15 - Sew Like My Mom 12/16 - Sugar Bee Crafts
12/17 - Fort Worth Fabric Studio 12/18 - Messy Jesse
12/19 - Leigh Laurel Studios 12/21 - The Happy Housie
12/22 - The Flannel Queen 12/23 - Riley Blake Designs
12/24 - Riley Blake Designs 12/25 - Riley Blake Designs

Awesome blog post…❤️❤️❤️
Thank you for your time and talent. I truly appreciate your blog post. Now, where can I find more time to make these? As you reminded everyone today, only 21 more sleeps until Christmas.
So pretty, thank you.
THANK YOU FOR A BEAUTIFUL POST TODAY!
Thank you for sharing such a cute pattern!
Adorable and easy - I love it! Great way to make quick wonky stars. Oh, and look, you have a quilt kitty! Beautiful photos… Look at those adorable kitchen utensils and bowls. I always say, once you pass a recipe along, it becomes your own. Thanks for sharing!